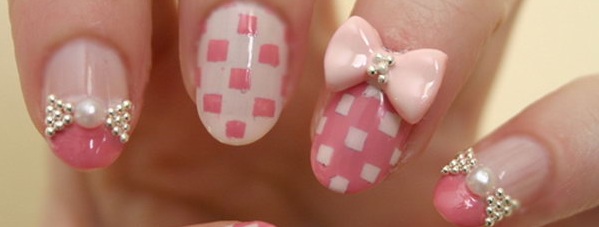
Wonderful Bow nail art designs
Have you always been in awe of bow nail art designs? When you look at bows on the nails it gives you the feeling of being cute and girly. Of course there are also plenty of designs that make the bow nail art look hip and cool. It all depends on what type of bow nail art you are planning to do.
First thing is first; don’t be afraid to try out this nail art style. There is never a nail art design that is too hard. Even though it would not look as good as planned in the first try, all you have to do is just to try and try again. You might have seen countless celebrities port this type of nail art and you are just dying to have it on you. Well, fear no more because below are some tips on how you can get your nails achieving that bow-tastic design you have always wanted.
Bow and Polka dot nail art design
This is not just your regular bow nail art procedure since you will also be working on cute polka dot designs on your nails. It’s also important not to focus on the bows alone when designing your nails and simple things such as the polka dot designs can give life to the nail art. That is why in the steps below polka dots are included so that they can further enhance the bow effect on the nails.
- Things that you need:
- – 2 nail polishes that you can use for the background and the polka dots
- – Base color
- – Dotting tool or toothpick
- – Clear polish for the top coat
Let’s begin!
Like all nail art design you should begin by painting on your base coat. The base coat is important because it helps protect your nails from the additional layers it may have on top. If you want to make sure that your base coat does not wear off, you can paint on two coats. This can be in any color, but most would choose neutral colors such as white. Make sure that your base coat is dry before adding the next layer.
Now it’s time to paint on the polka dots in all of your fingers except the ring finger where you will be putting your bow later on. When you are already familiar with how to paint on polka dot nail art then this step will be a breeze for you. However if you have not tried it before, this can be a good time to start.
Paint on your first layer of color which should be in contrast with the polish you are using for the polka dots. Make sure that the background layer is dry before putting on the dots. Pour a small amount of nail polish unto a flat surface and with your dotting tool or toothpick, add the dots to your nails in order. You can do them diagonally, vertically or horizontally; whichever works for you. You can line them up or you can randomly paint them flying around, it depends on which style you are going for. Do the same with the rest of the nails except for the ring finger. Make sure that the dots are dry before proceeding.
Unto the bow for the ring finger
In this nail art design, you can use a rhinestone to recreate your bow. If you are making the bow on the tip of your nail then position the rhinestone on the middle tip of the nail. In order for the rhinestone to stick you need to dip it a bit in clear polish. After that, add two more rhinestones on each side of the first rhinestone. Remember that you are creating a bow which is why the outer rhinestones should appear to be getting bigger. Do this a second time by placing three more rhinestones on each side of the two earlier rhinestones. You would have now a bow like shape on your ring finger.
In some cases you can buy pre designed bows that you can easily stick on your finger using a clear polish. There are various types of nail embellishments that you can use to complete the effect. You can also paint the bow yourself, given that you have had practice or want to practice this kind of art. You can either use nail polish or acrylic colors to paint on the bows that you like. You can even use baby pearls in forming the bow shape on your fingers.
You can also add your own creativity to the nail art such as using stripes or plaid design instead of polka dots. You can even add more rhinestones on your fingers or beads if you feel like it is too lacking. Another great idea you can incorporate are French tips. French tips are great with almost any type of nail art designs. Most important of all, have fun! Channel your inner fashionista and create your very own array of bow nail art designs.
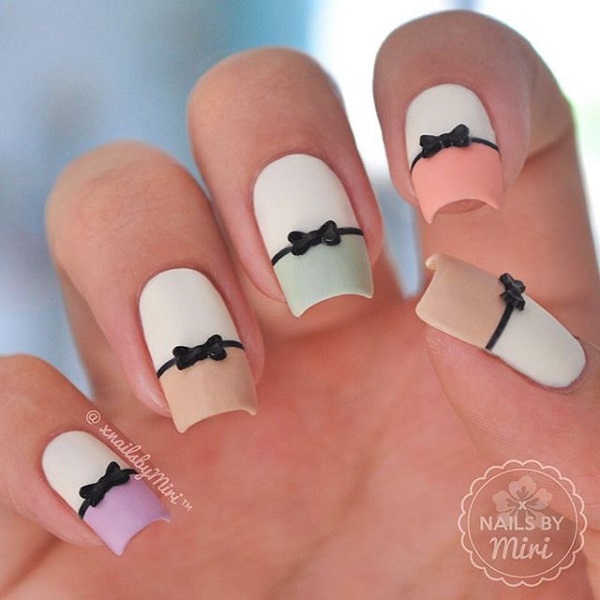
Cute pastel colored bow French tips. Give a new look to your French tips by adding thing bow embellishments on top.
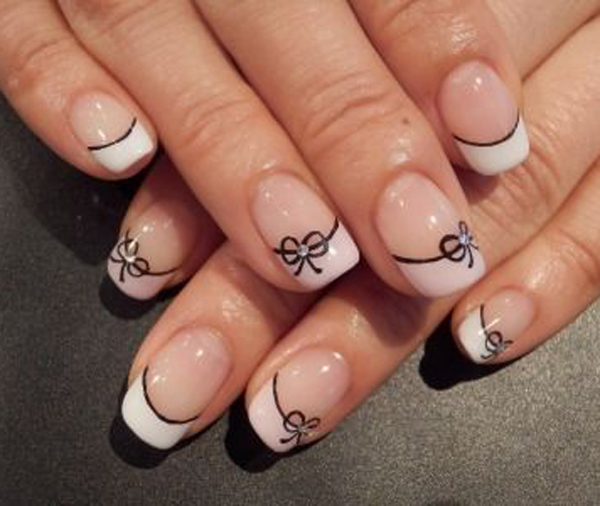
Pink and black bow French tip. Draw on thin lacy bows underneath your French tips to make them look even prettier.
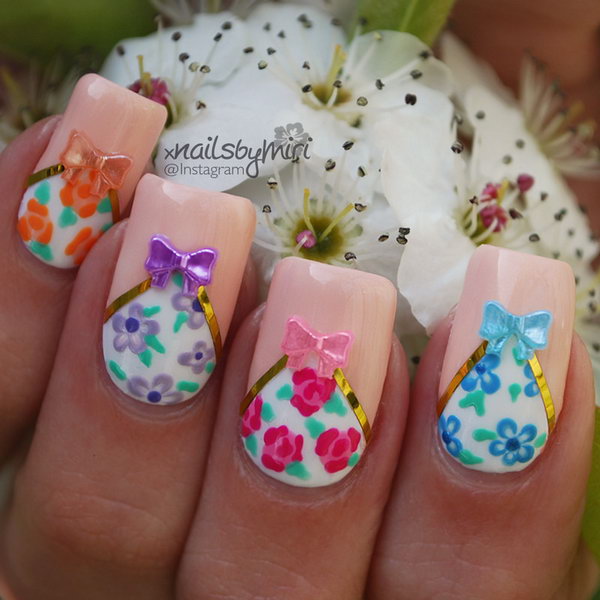
Floral nail polish in bows and French tips. Who says you can never have too much of everything? This French tip, bow and floral nail art ensemble is just perfect for each other.
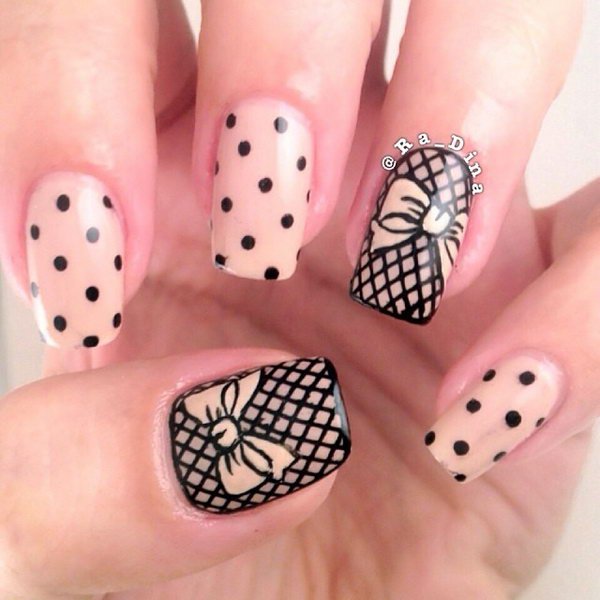
Bows and polka dot nail art. Using cream and black polish you can recreate cute bows and polka dots on your nails.
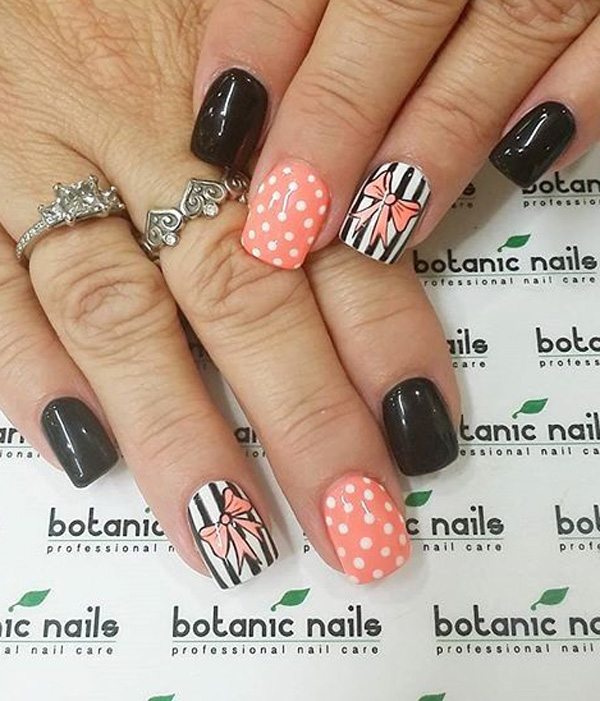
Bow inspired nail art in pink, black and white. Fill your nails in an interesting combination of stripes, polka dots, matte and bows.
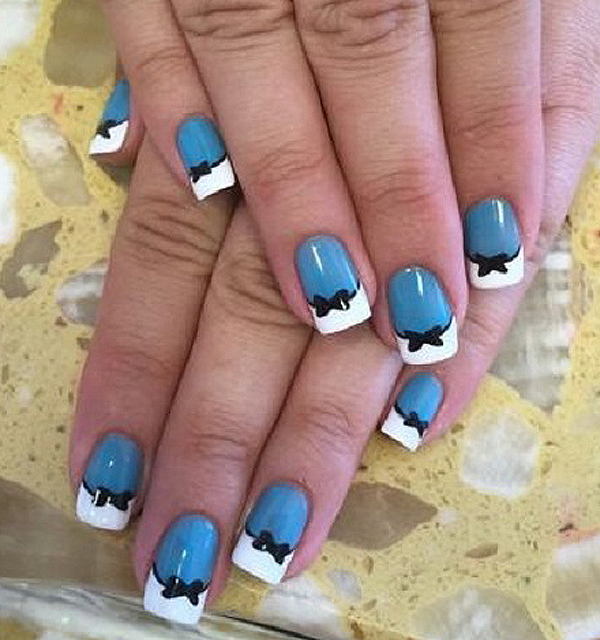
Blue and white French tip with a touch of a bow. Make your ordinary French tips stand out with adding small bows around the inner lining of the French tips.
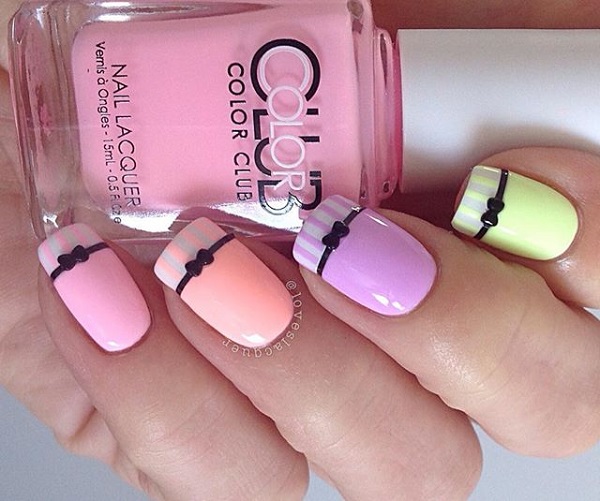
Pastel and stripes bow nail art. You can even add a bit of a French tip into the combination to make it even more dazzling.
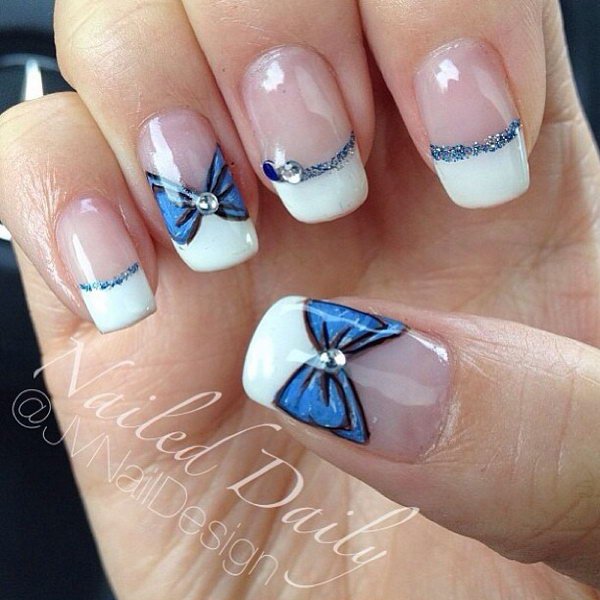
Wonderful looking blue and white French tip. Adding the bow is simply a great idea to accentuate the nails as well as to give more life to the nail art.
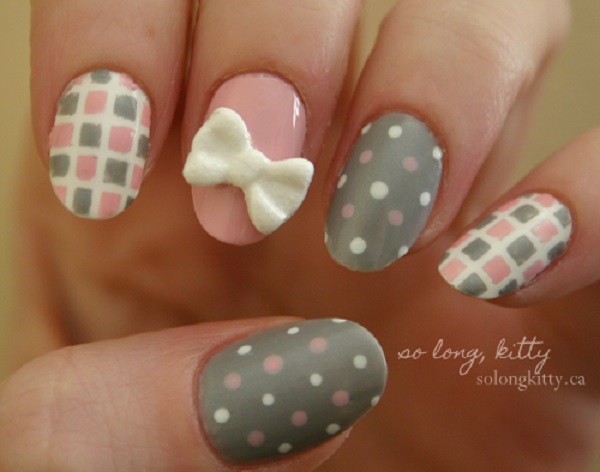
Cute checkered and polka dot bow nail art. Put in together cute bows, checkered prints and polka dots and you get this adorable nail art combination.
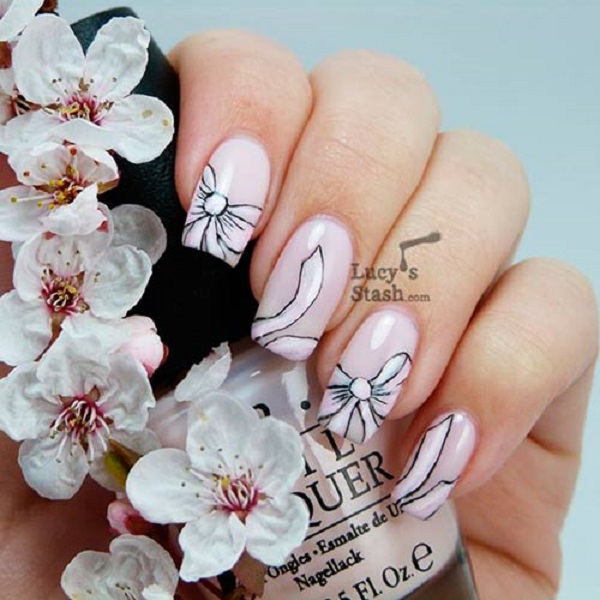
Bow nail art in thistle pink. If you like that soft look on the nails you can definitely go with this design.
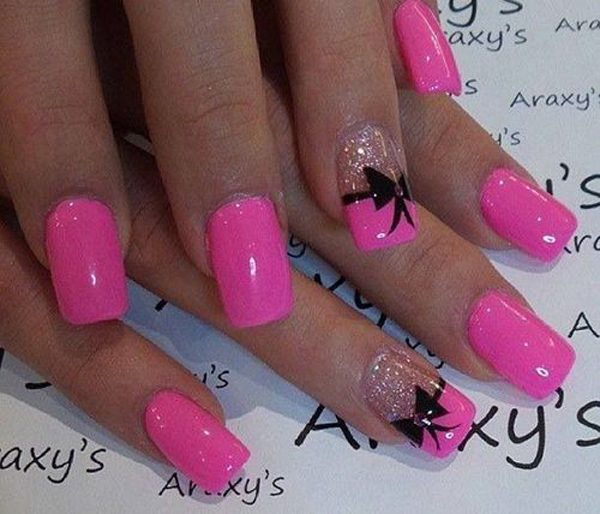
Wonderfully pink in this pink and glitter inspired bow nail art. Add awesome French tips into the ensemble to highlight the glitter nails and cap it off with cute little black ribbons.
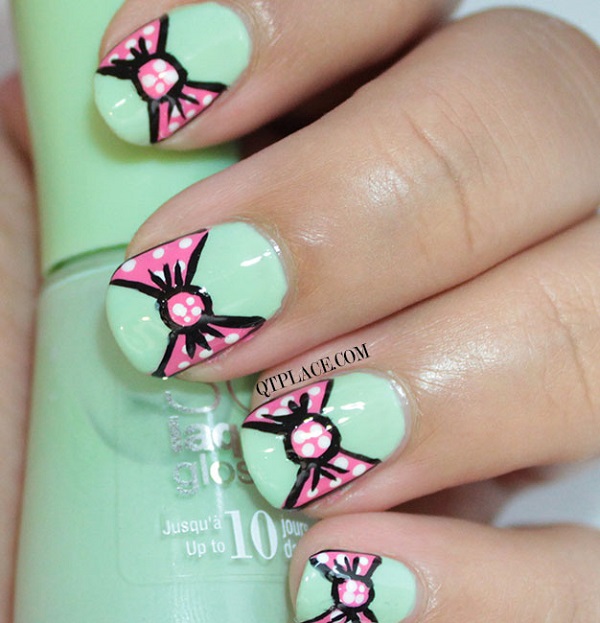
Cartoon bow inspired nail art. Using light colors, draw random bows in the middle of the nails and highlight them with polka dot designs.
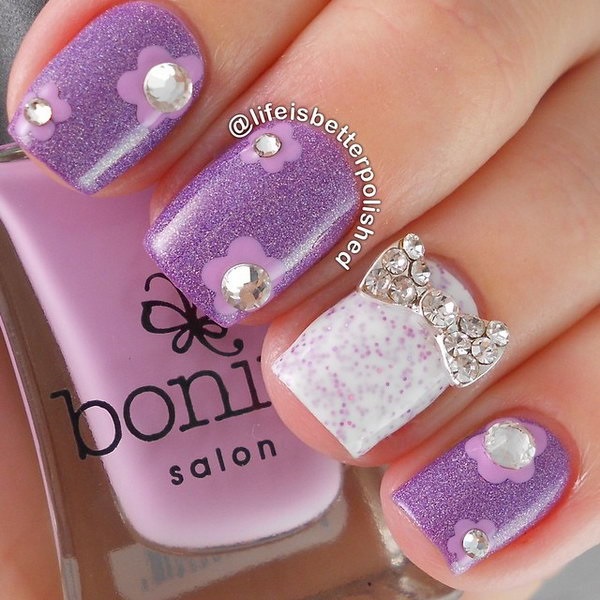
Creative and cute looking bow nail art. Give more sass into your bow nail art by adding glitter polish and beaded flowers into the combination of violet hues.
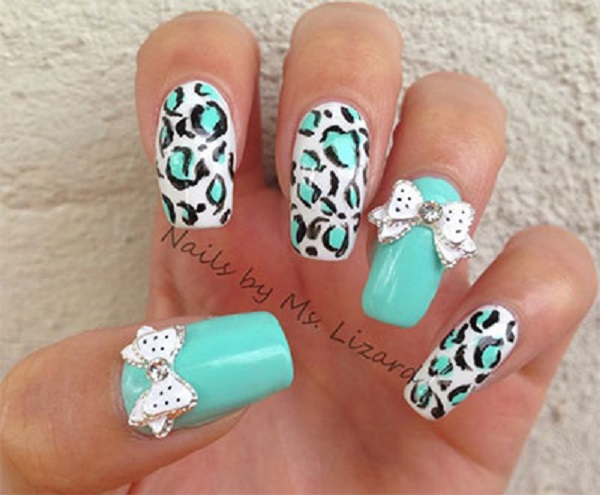
Animal print themed bow nail art. Fill your nails in animal prints and matte color in light blue polish. Top it off with a cute white bow and polka dot embellishment.
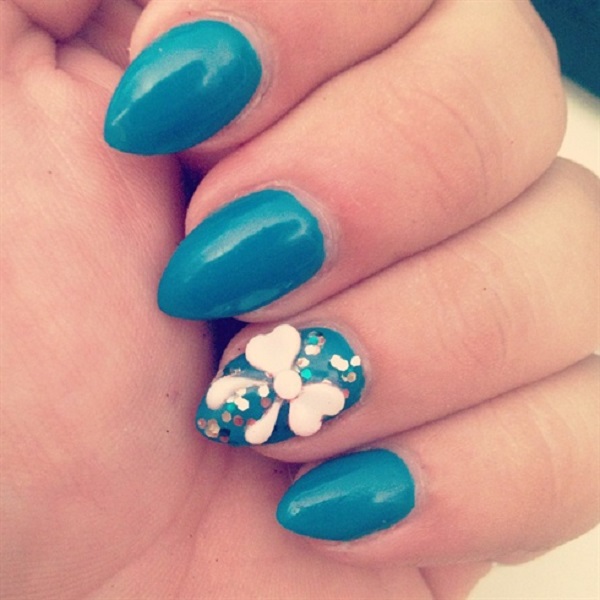
Turn your nails into electric blue with this bow themed nail art. To give more life to the bow, make use of sequins and a bow embellishment on top for accent.
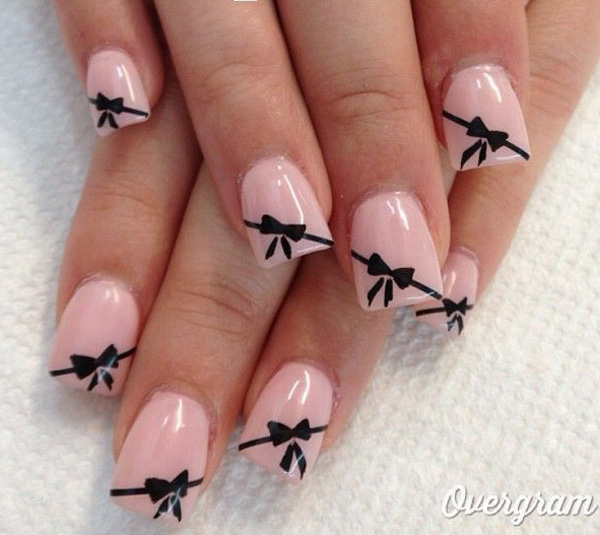
Diagonal French tips in bow nail art design. Paint your bows in diagonal direction whilst forming a semi French tip on the nails.
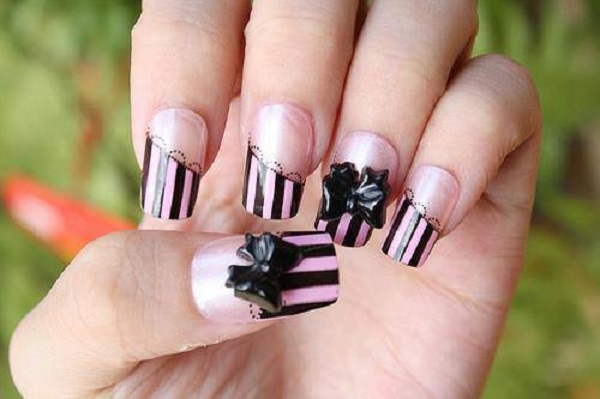
Stripes and bows are always a perfect combination. Using black and pink polish combine together the striped French tips and the bows to form this very pretty ensemble.
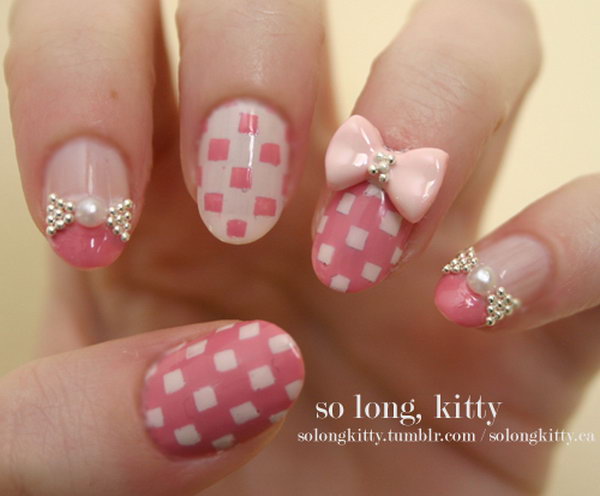
Adorable baby pink bow nail art design. Paint on checkered pink prints on your nails and top them off with various bow designs in beads and pearls.
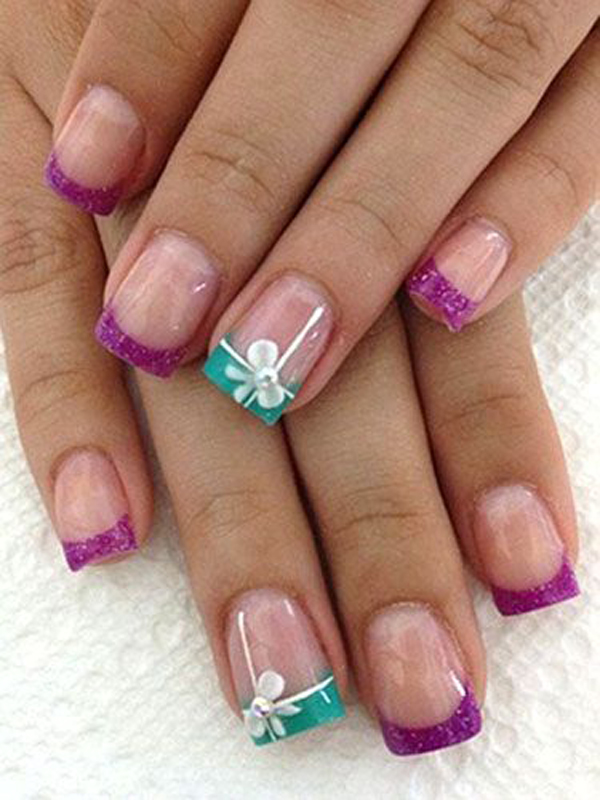
Glitter polish French tips and bow nail art designs. Paint your nails in glitter French tips and cap it off with a single bow tied design on the ring finger.
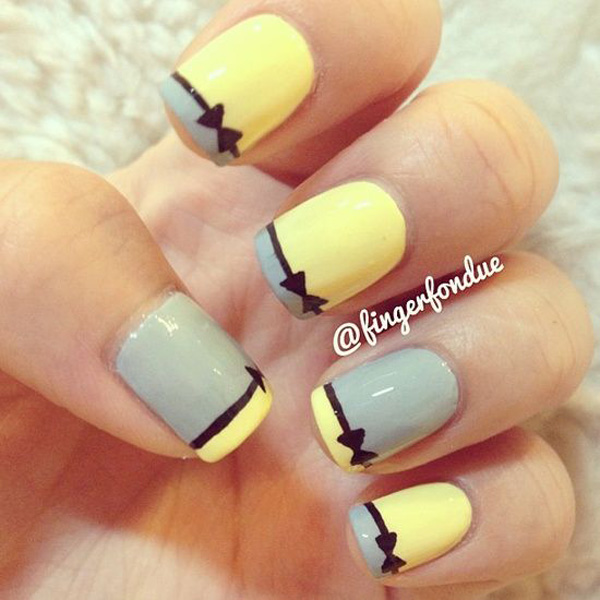
Pastel colored bow nail art design. Play around with pastel and add in the bow design using a striking black polish which helps add accent to the design.
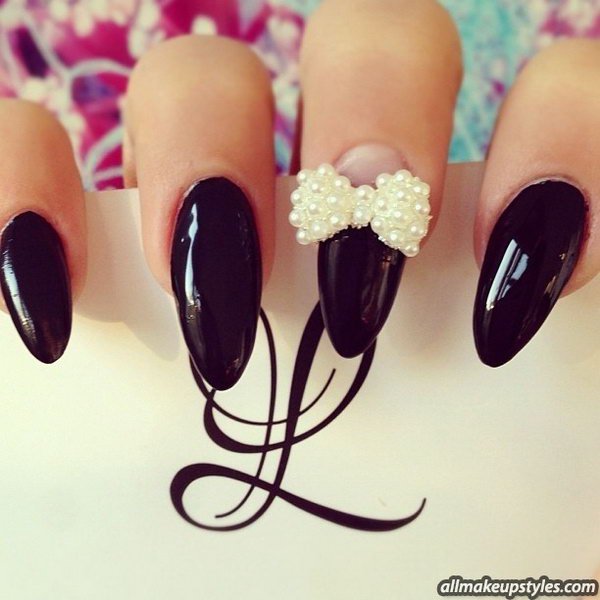
If you prefer the classic, you can always go for an all black matte nail art and bow on top. The single white pearl bow on top stands out and makes the combination even more elegant.
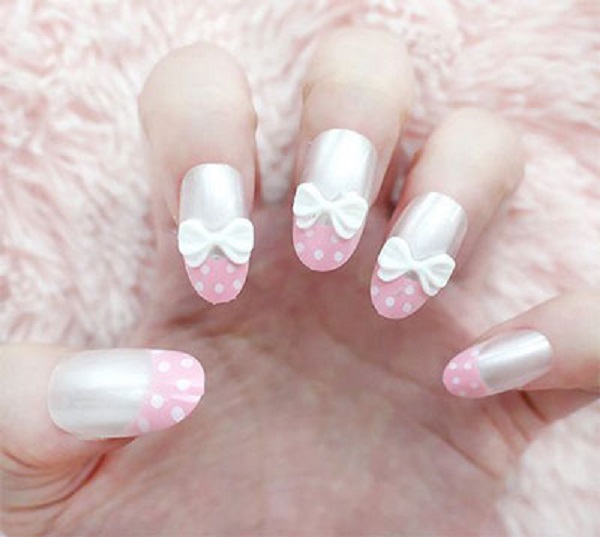
Metallic silver and pink French tips with bow nail art. Give life to your metallic silver nails by adding a cute pink polka dot French tip and white bow on top.
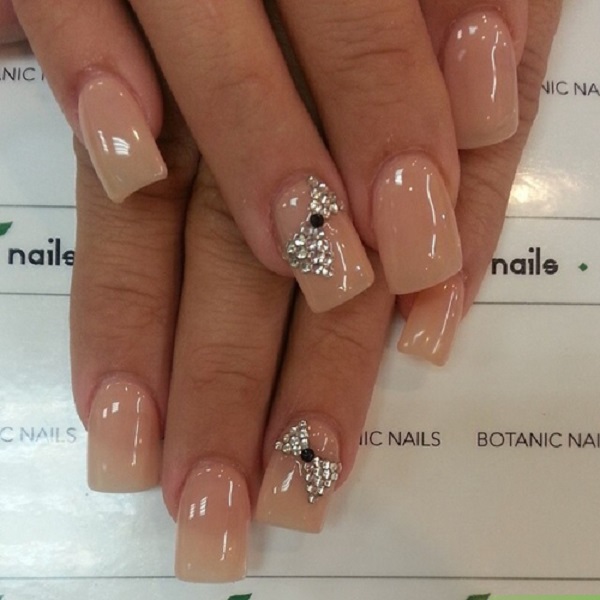
Nude polish with silver bow on top. Nude polish has always been gorgeous to contribute to that amazing color are rhinestones formed in a bow shape placed on top.
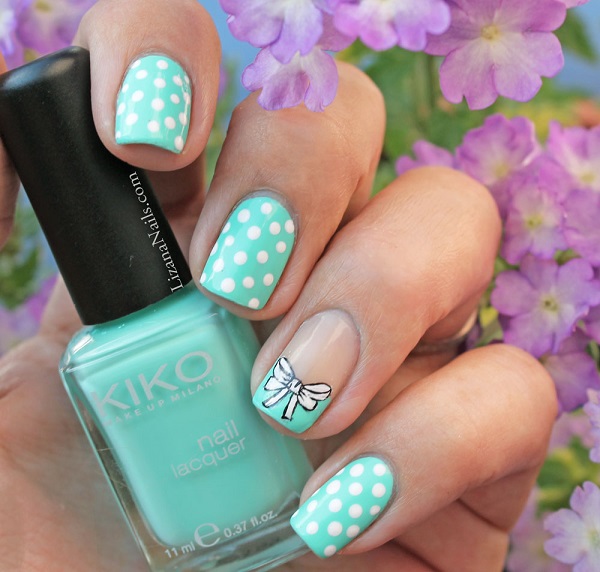
Baby blue and white with bow nail art. Keep it simple and cute with this blue and white polka dot ensemble and adding a cute white ribbon on top of the French tip.
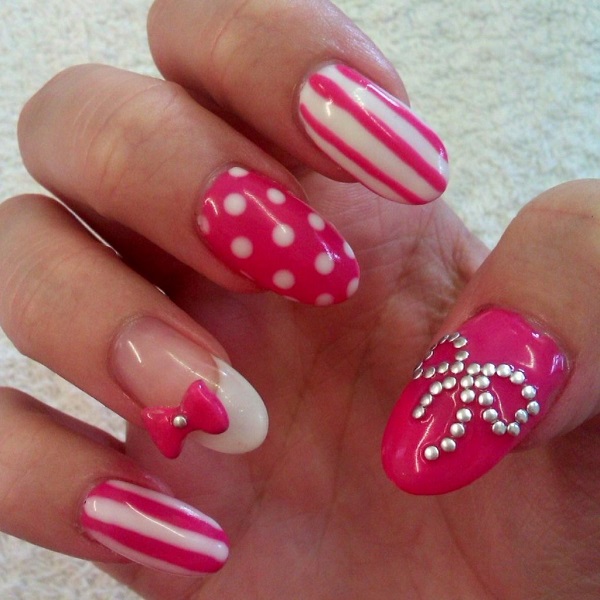
Pink and white themed bow nail art. Group together pearls to form a shape of the bow and accentuate the other nails by painting French tips, stripes and polka dots.
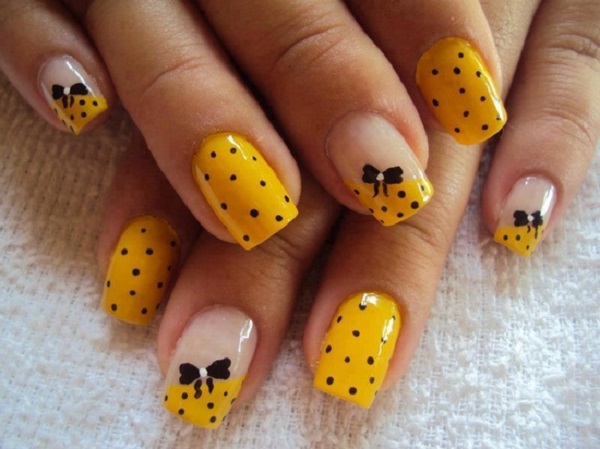
Black and yellow bow nail art design. This combination is definitely an eye catcher and is very cute. Paint your nails in bright yellow and add black polka dots on top as well as bows for the French tips.
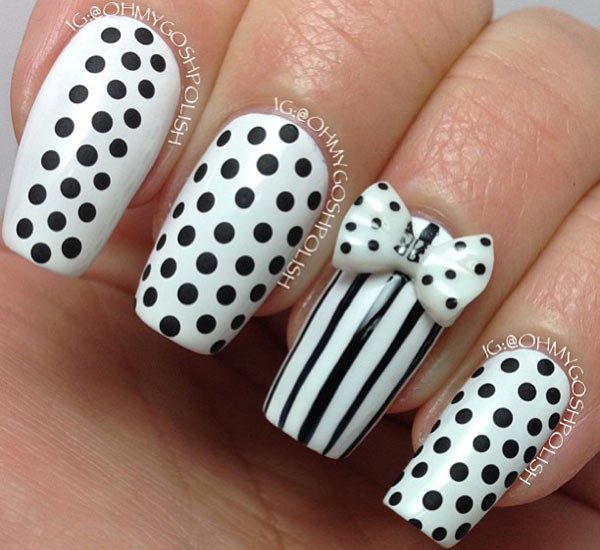
Classic black and white bow nail art. If you want to go classic then there is no turning back. Check out this amazing stripe and polka dot bow nail art that looks simply astounding.
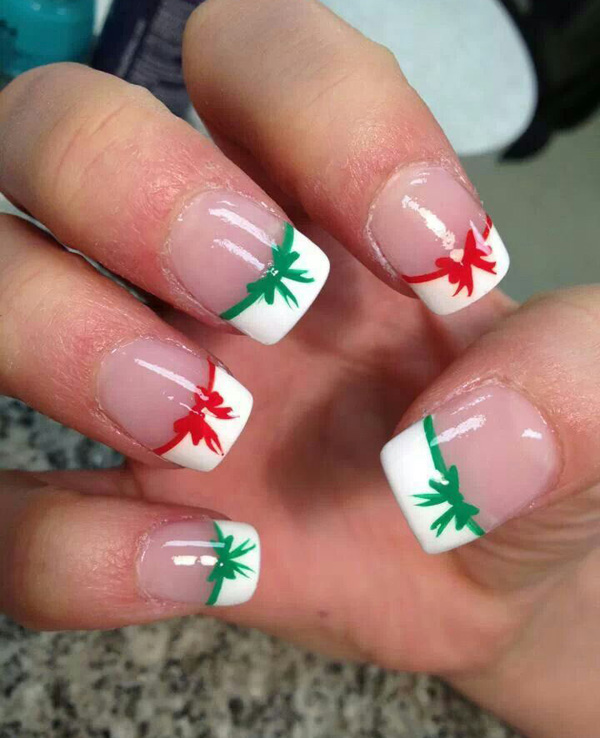
Red, green and white themed bow nail art. Give your French tips the attention they deserve by adding cute colorful bows on top.
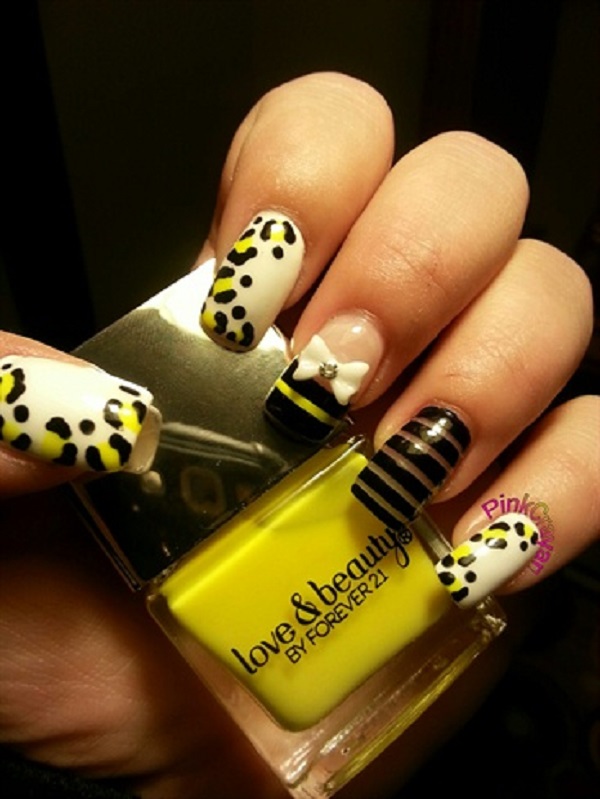
Leopard print bow nail art. There is so much you can do than just simply adding a bow on top. You can also add stripes and French tips to make it look even better.
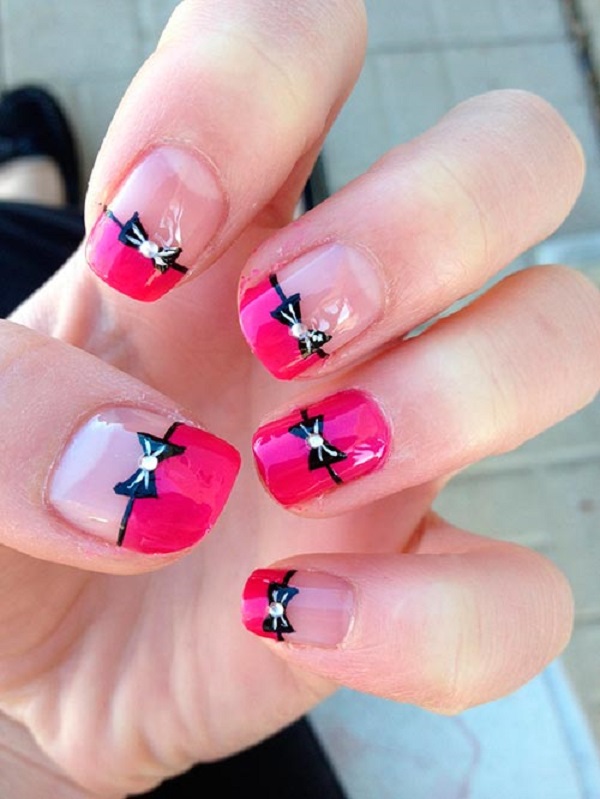
Hot pink French tips and bow nail art. Get your rhinestones ready and put it on top of your French tips while drawing a bow in black polish.
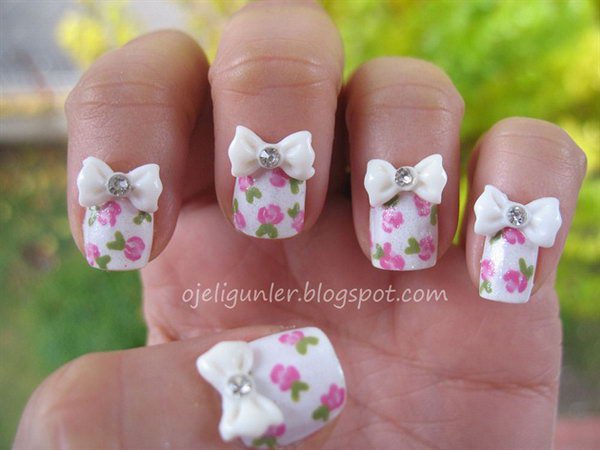
Very pretty white and pink bow nail art. Painting on flowers on the nail art adds to the cute effect that the bow also gives off.
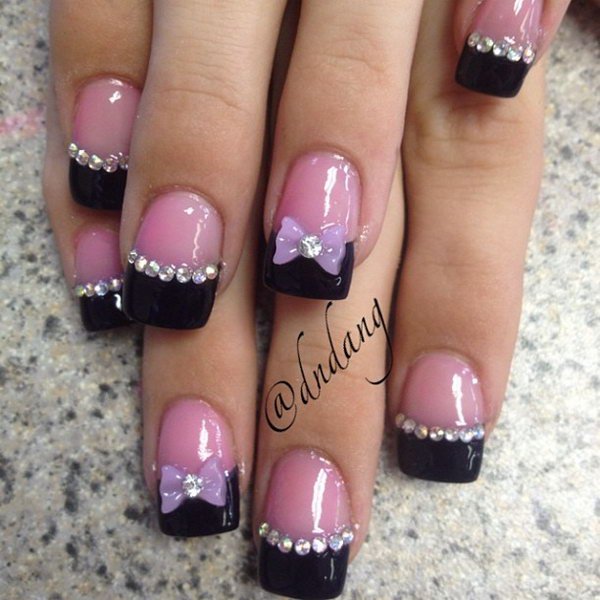
Glamorous looking violet and black bow nail art. Add rhinestones to your black French tips and top them off with a cute violet ribbon for accent.
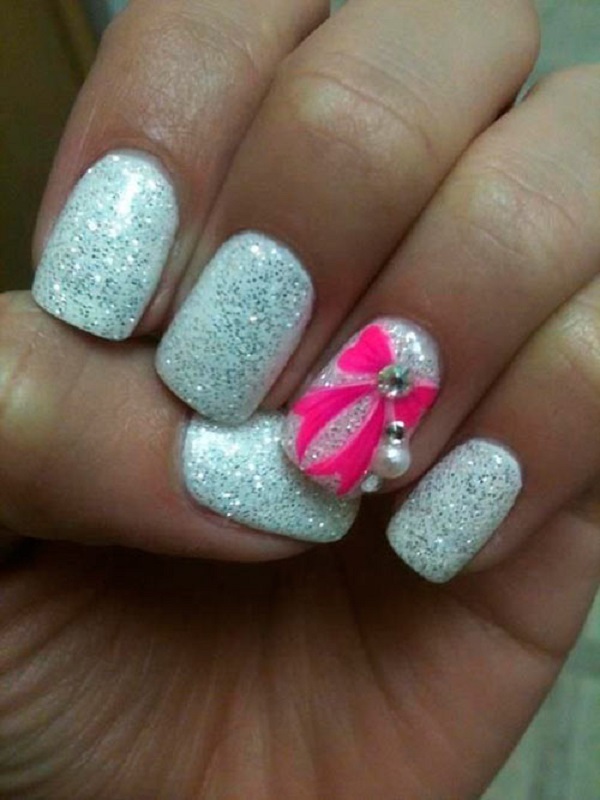
Glitter and bow nail art. Stand out with your green glitter polish and place a cute pink bow on top for a wonderful accent.
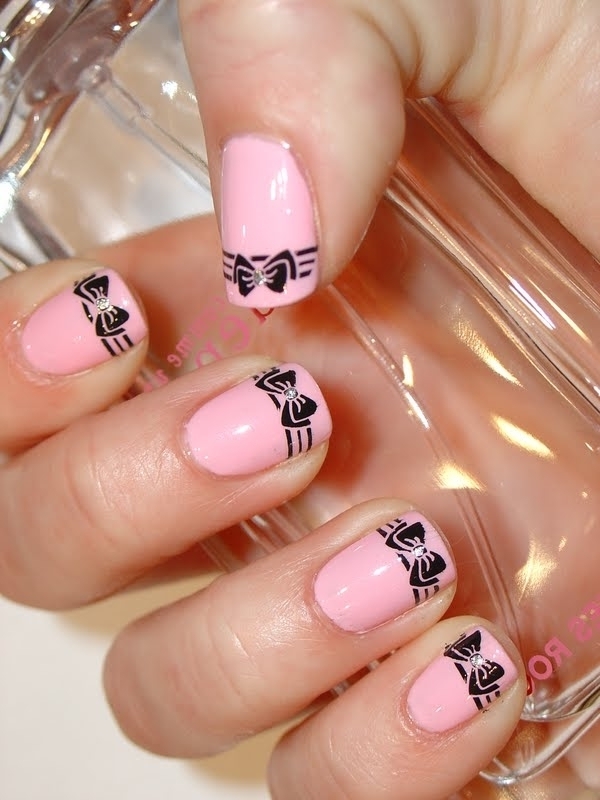
Baby pink and black bow nail art. Contrasting colors are best especially when painting a bow in detail. Try out this super cute bow design with a tiny rhinestone on top.
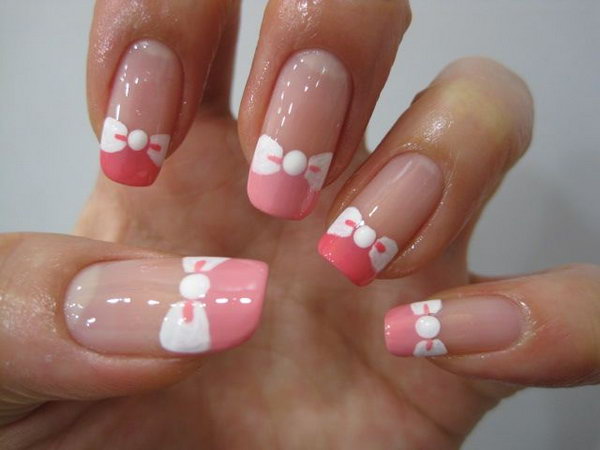
White bow and pink French tip nail art. The best way to give accent to your ordinary French tip is to add a wonderful and fluffy looking bow on top.
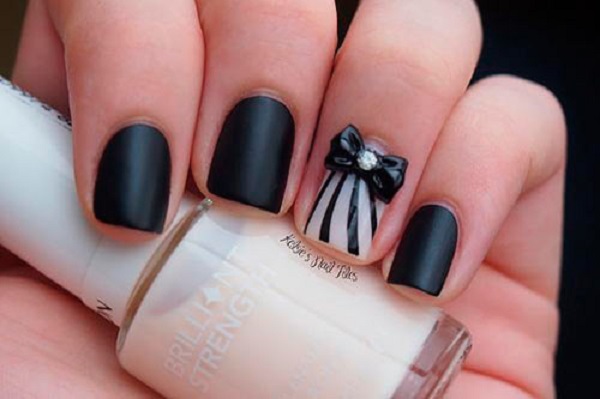
Elegant black and white bow nail art. Paint your nails in matte black and add accents such as black and white stripes as well as a bow on top. A silver rhinestone is also recommended for effect.
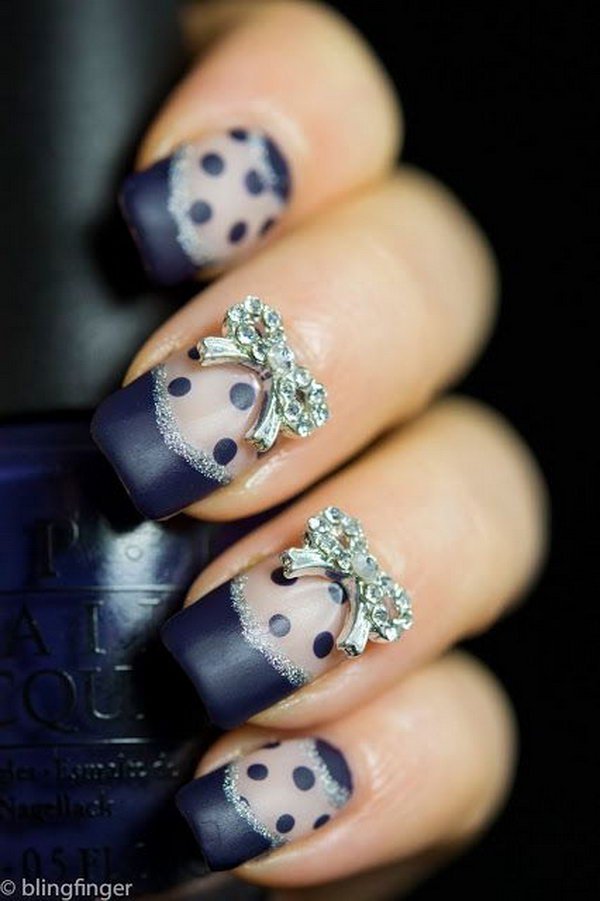
Blue and silver bow nail art. Top up your blue French tip and polka dot design with silver glitter paint. It’s never too late to go one step ahead by adding silver bow embellishments on top of the nails.
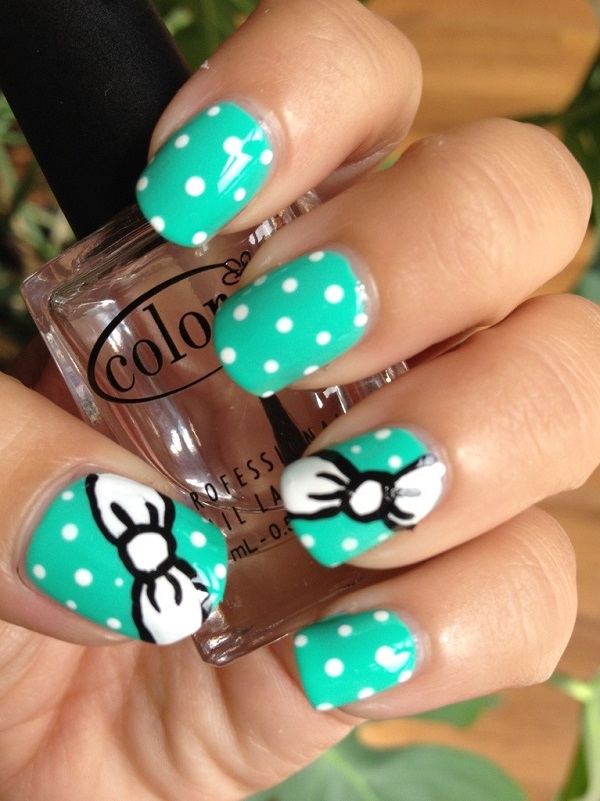
Cute looking green polka dot and bow inspired nail art. Polka dots are a very popular design nowadays, but with the addition of cute bows this combination has just become twice as cuter.
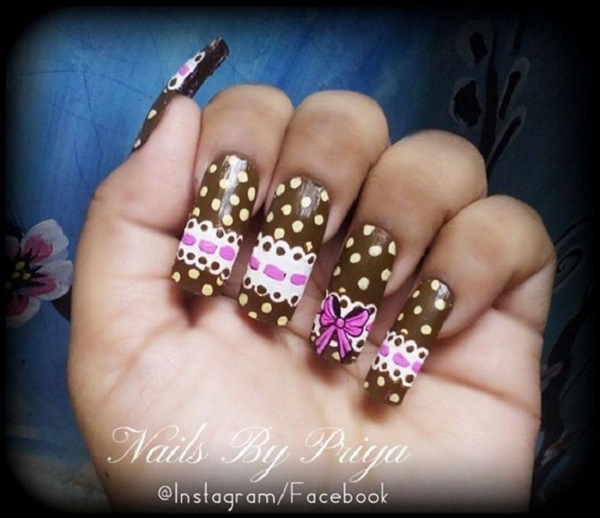
Polka dot, lace and bow nail art. What better way to design your super long nails than combining these three designs which go well together.
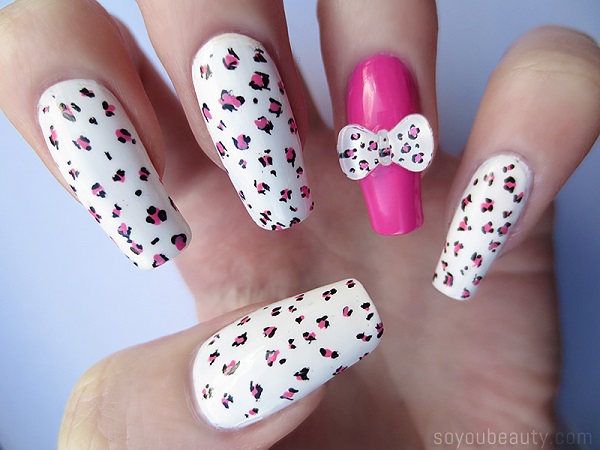
Beautiful animal print bow nail art design. Coat your nails in pink and white animal prints and adding a special bow with the same design atop of the lone matte colored nail.
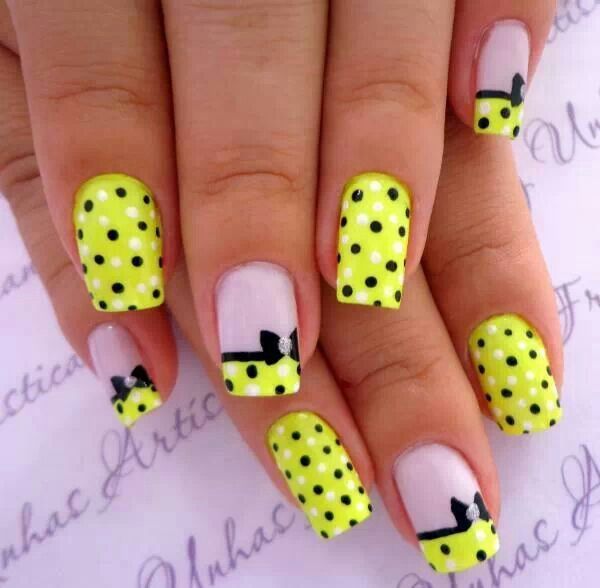
Adorable black, yellow and white bow nail art design. Coat your nails in cute black and white polka dots with a yellow background while painting a bow underneath your polka dot French tips.
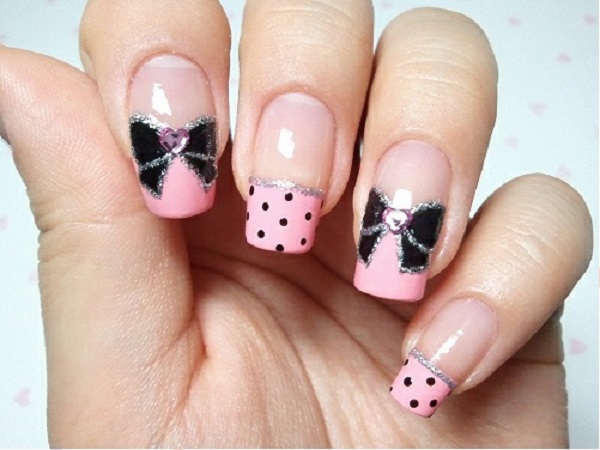
Black and pink bow nail art. Polka dots and bows go very well together as well as the color scheme of black and pink. Put them together and you have this amazing ensemble.
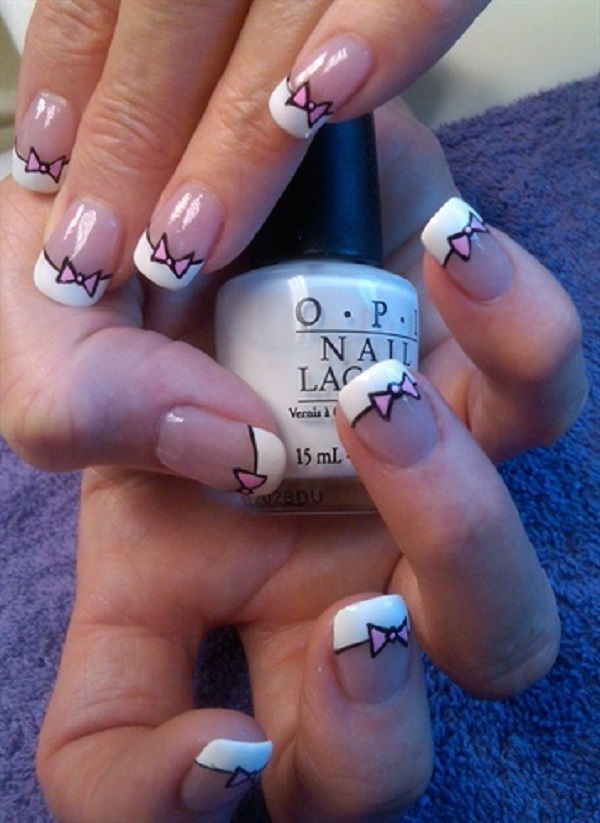
Simple but pretty looking bow French tip. Use white and pink polish to achieve the effect and apply black polish as the outlines of the French tips and bows.
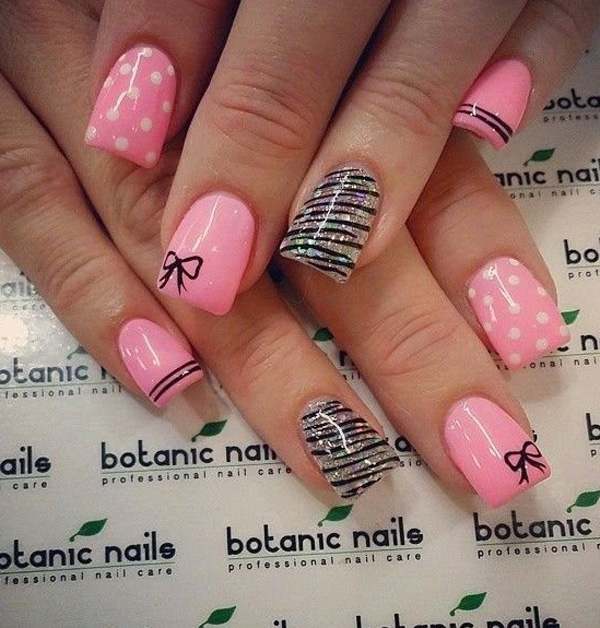
Wonderful looking glitter and bow nail art. Combining styles creates a very unique nail art. In this little combination matte, polka dot and sandwich designs are used as well as painting small cute bows on one side of the nails.
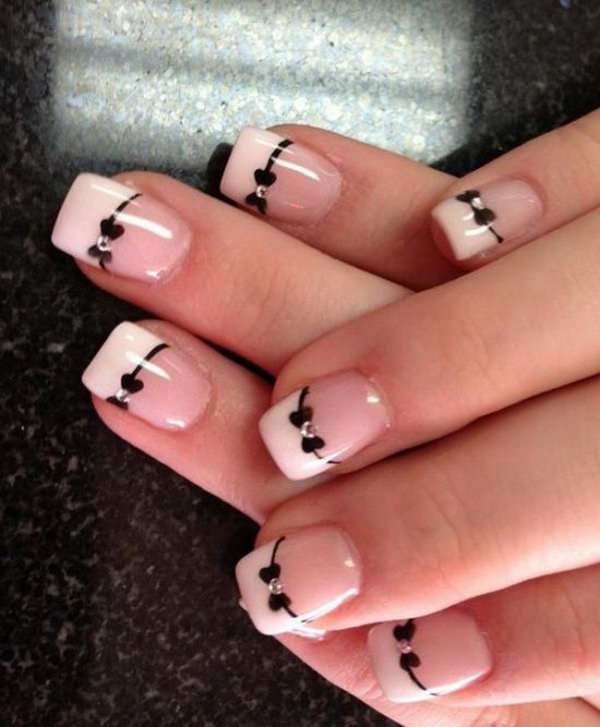
Classic black and white French tips with bows. What makes this extra special is using rhinestones on the bows and outlining the French tip with black polish.
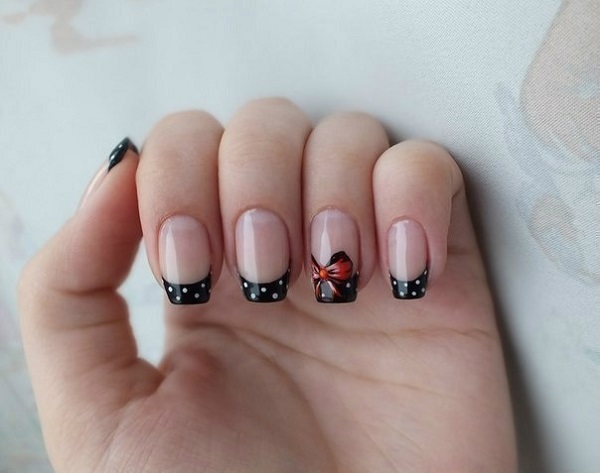
Black, red and white polka dot French tip with a red bow. Going classy? Then this perfect combo will never let you down at parties.
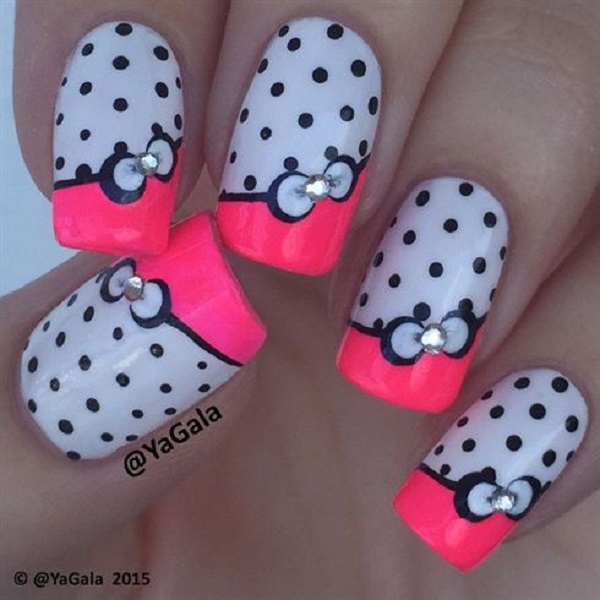
Pink, blue and white color combinations for a bow nail art. Blue polka dots are also used to accentuate the French tip while bows with rhinestones in the middle are added on top.
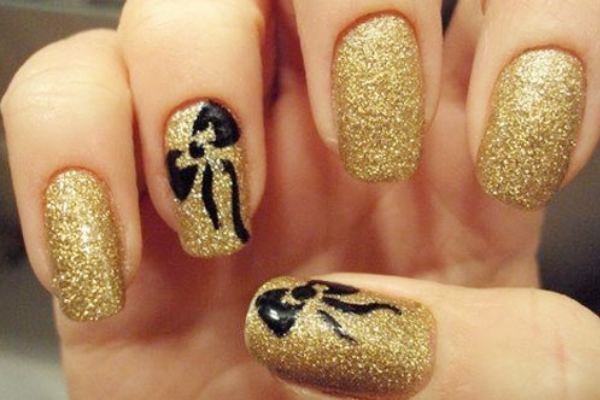
Be dazzling enough to sport this gold glitter and bow polish on your nails. A simple yet eye catching design that uses black polish to paint out the bow details on top of the gold glitters.
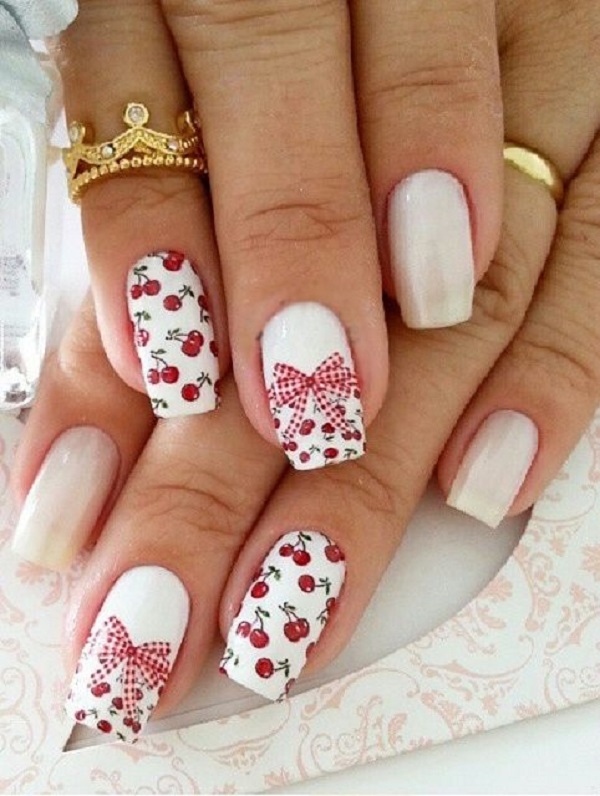
This is a really cute cherry and bow nail art design. The cute little cherry details complement the checkered pattern of the bow used to tie the French tip around the nail.
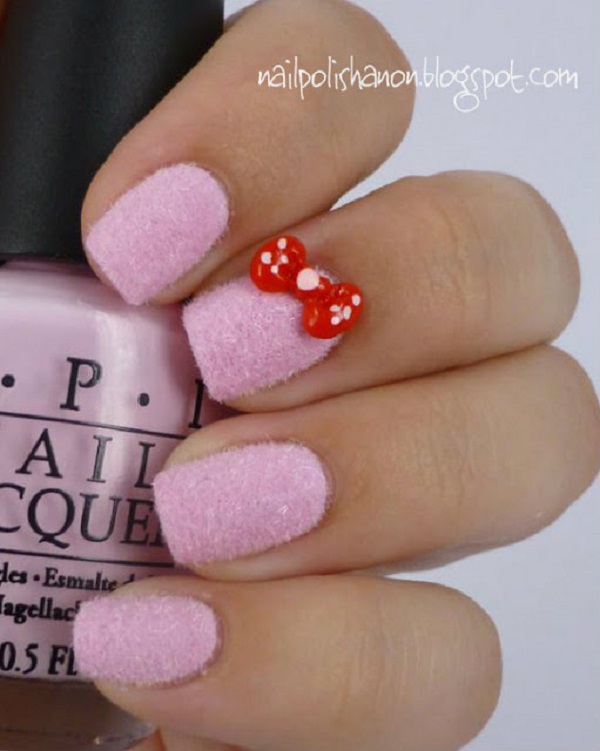
Pink and red bow nail art design. Give more life to your pink nails by adding a cute red bow embellishment on top.
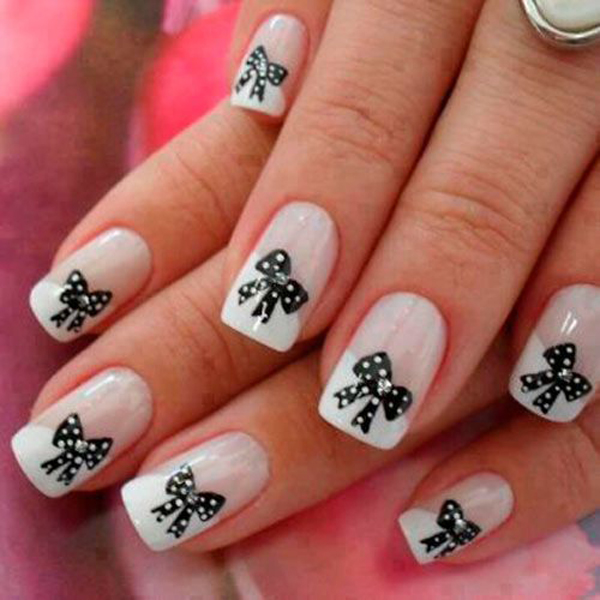
Black and white bow nail art. You can even add polka dots on your bow designs to make it stand out even more.
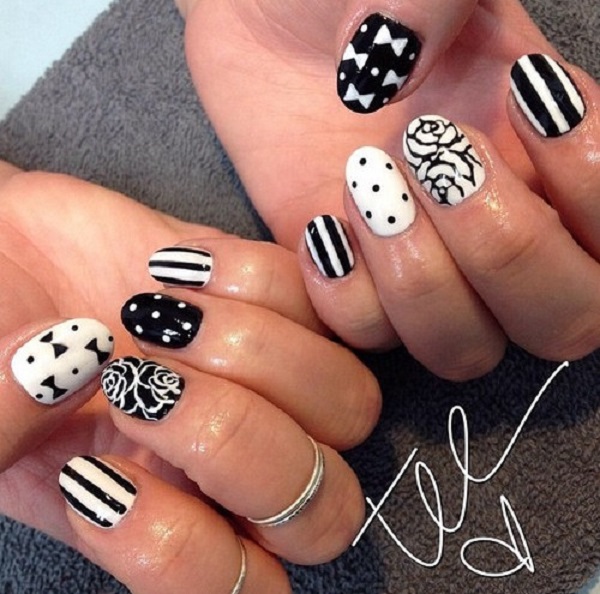
This nail design is a variety of bow, stripes, polka dots and flower nail art. What’s wonderful about this combination is that the complement each other and the black and white color scheme are simply perfect.
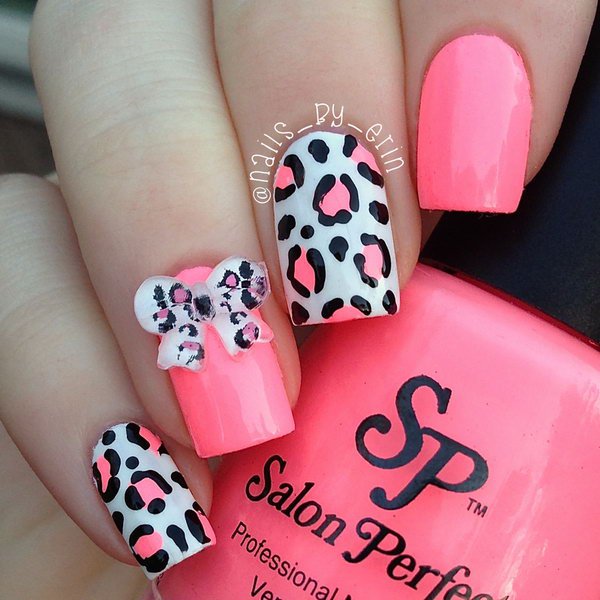
Pink and white animal print nail art design with a bow. Make everything a notch cuter by adding an animal printed bow embellishment on top for accent.
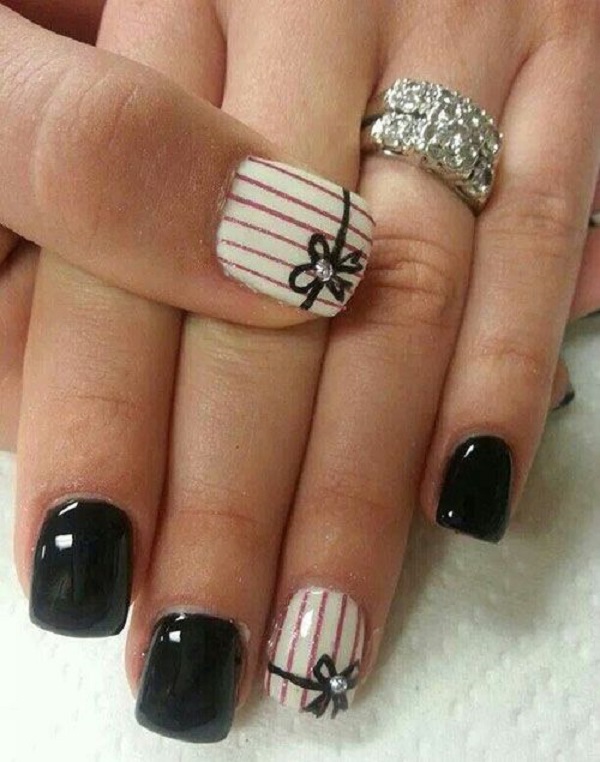
Black and white bows nail art combination. Black and white will never get old; you can always add red linings to match the colors and elegant rhinestones for the bows.
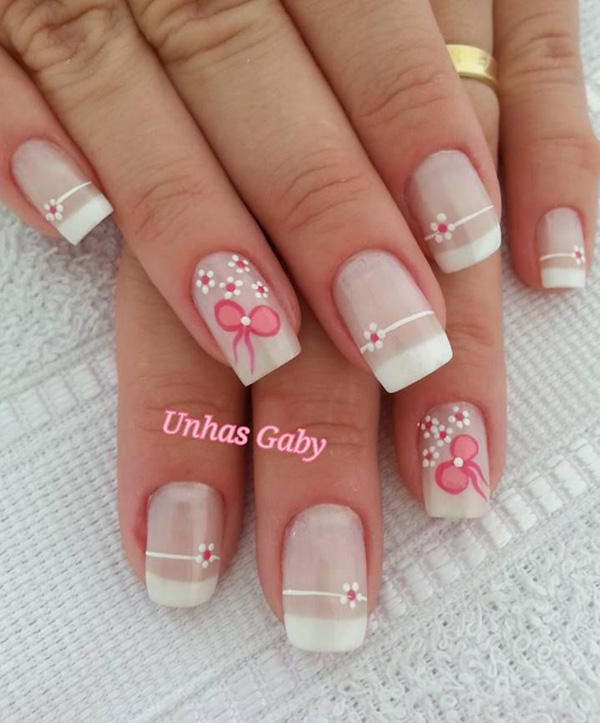
Simple and clean looking bow nail art design. Draw cute little pink bows with rhinestones on top and add flower designs to complete this adorable design.
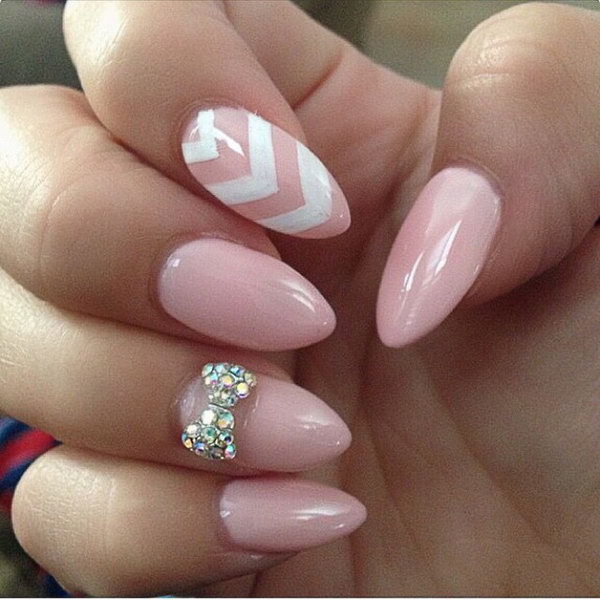
Baby pink and white bow nail art design perfect for you. If you’re going with light colors, silver accents are the best which is why you should choose silver rhinestone to shape out your bow.
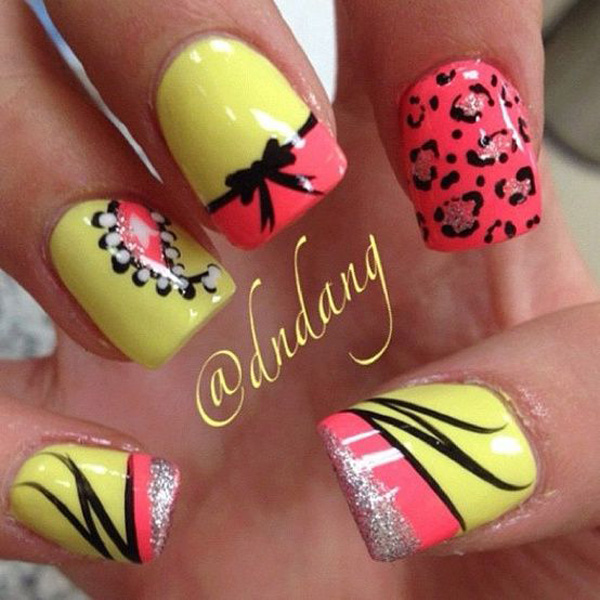
Animal print and French tips with bow nail art design. Go all out there and try this bright combination of yellow and salmon with a pinch of glitter polish and topped with bows in black polish.
